“How can I make a custom steering wheel for T150?” – this question started appearing in my mailbox multiple times a week. This fact forced me to get a T150 Pro base and… yes, now we can have a custom electronics for T150. As usual – Arduino Nano based!
Parts list: 2 Arduino Nano boards (or Nano + Uno), wires, push buttons, electrolytic capacitor (any 10-100uF will work).
Why do we need 2 arduinos? First Nano is to emulate original T150 PS Wheel electronics. Second Arduino (Nano or Uno) will be used as “Arduino as ISP” external programmer – to flash our code into first arduino and to get rid of “arduino bootloader” which takes control for 2 seconds every time we power on arduino nano board.
We need our arduino device to boot instantly or T150 wheelbase refuses to recognize it as steering rim. That’s why we’ll need second Arduino as ISP or any other external programmer (AVRISP, USBTinyISP, … – you can use any).
Wiring diagram
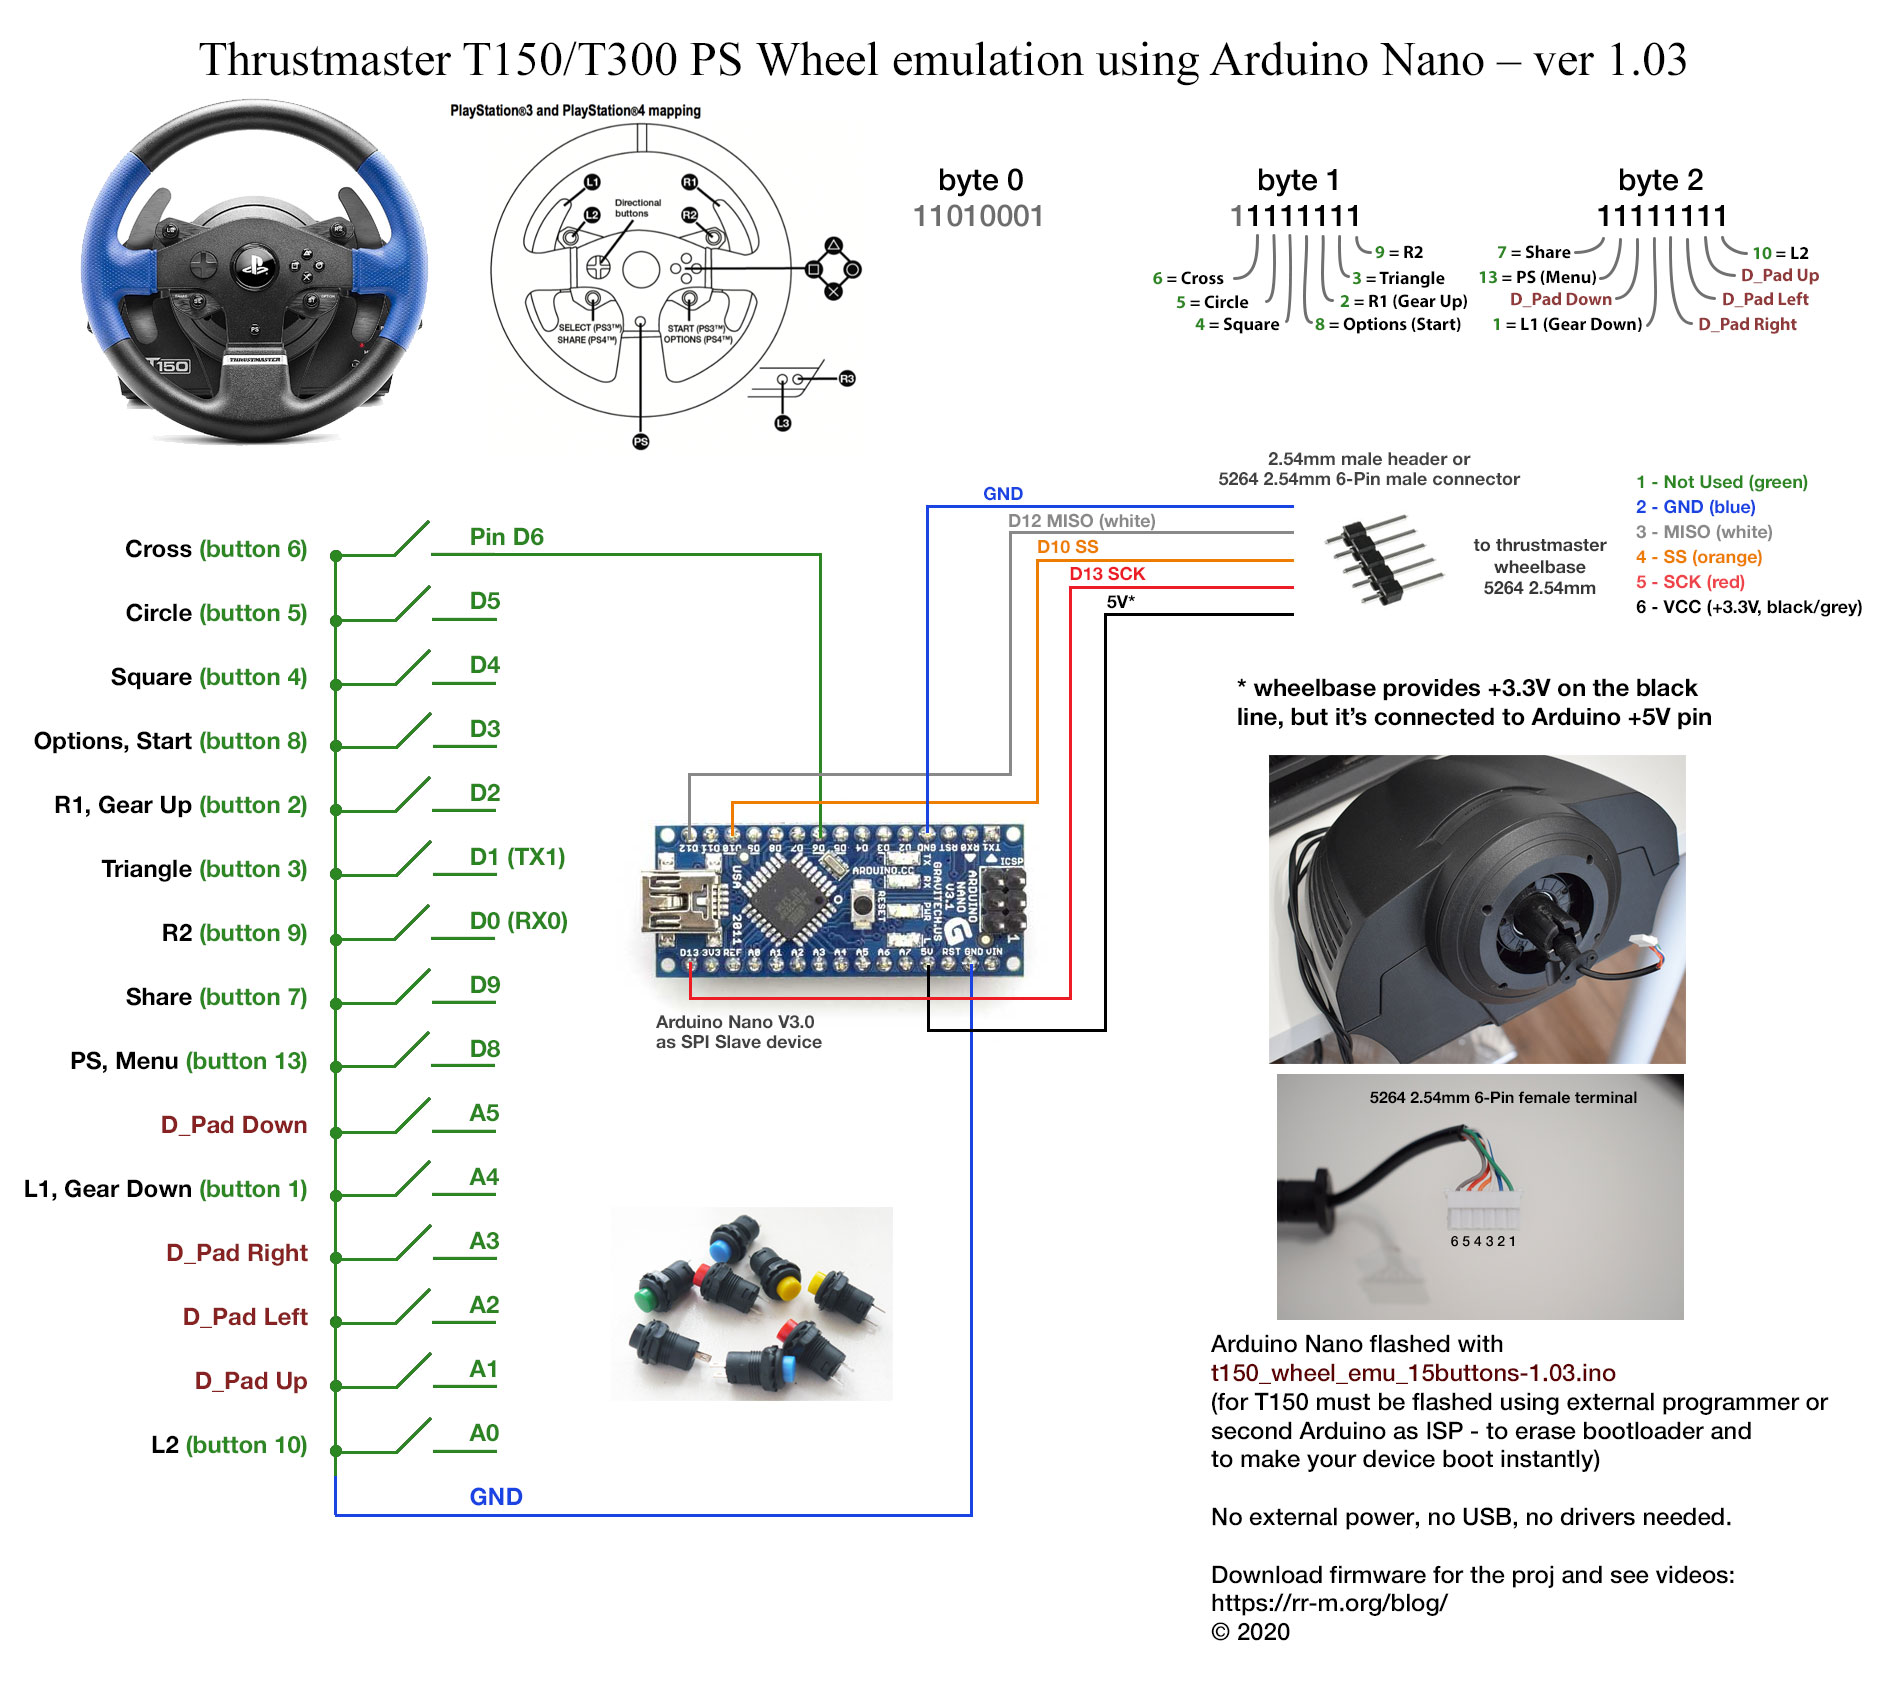
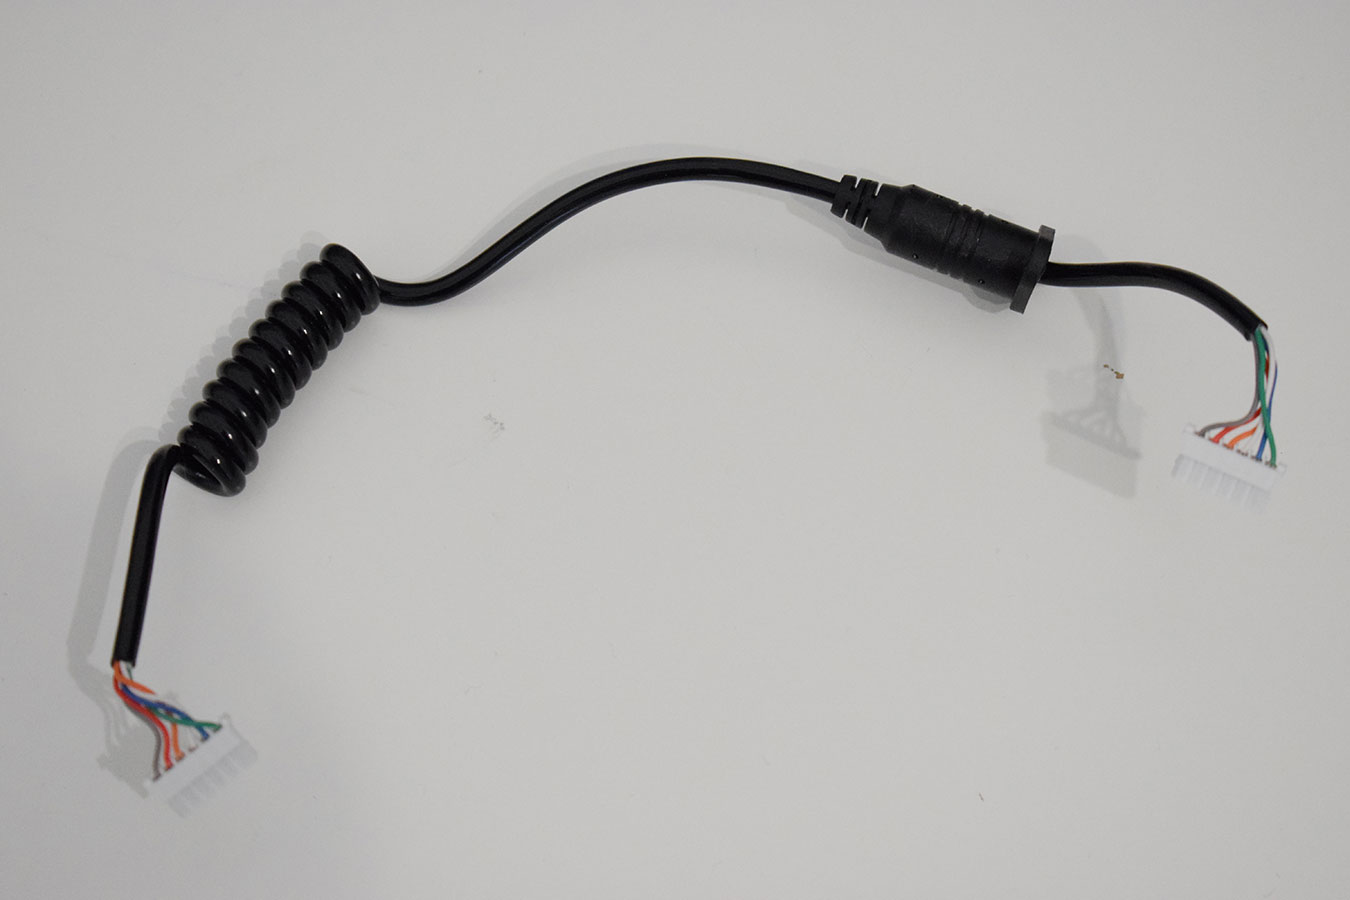
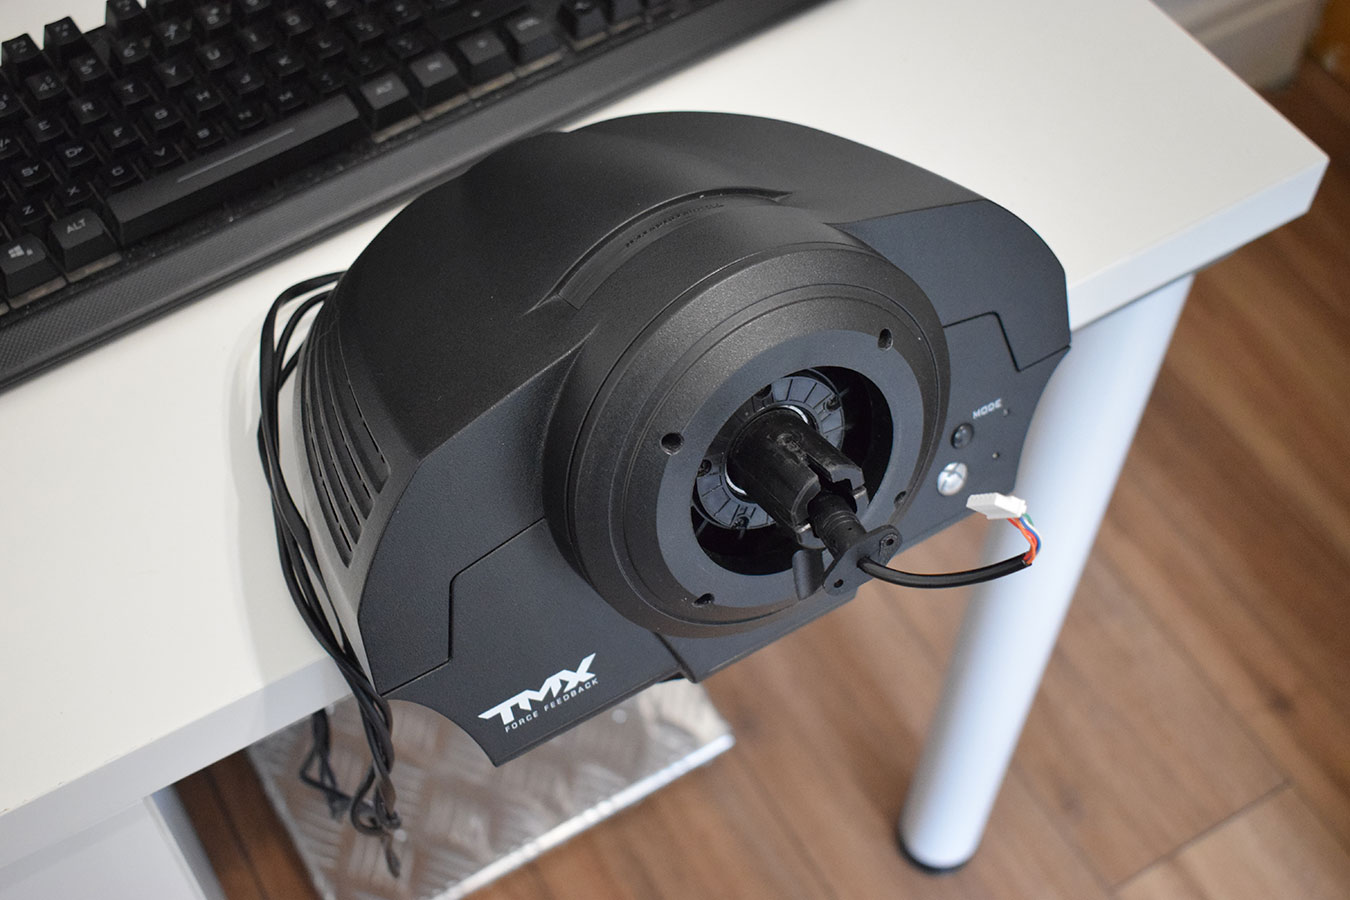
Wiring is quite simple. T150 base has “5264 2.54mm 6-Pin” connector (rim cable has 5264 6-pin female terminals on both ends, PCB inside wheelbase has 5264 6-pin male terminal). Arduino Nano must be connected to T150 base using 5 wires (GND, MISO, SS, SCK, VCC). Wheelbase acts as SPI Master device, Arduino as SPI Slave device.
1 – Green wire is not used (originally it’s connected to GND via 100K resistor inside stock PS steering wheel). We don’t use it and can leave it disconnected.
2 – GND (blue) – ground – connects to Arduino GND pin.
3 – MISO (white) = Master In Slave Out = data line (wheelbase reads 8 bytes from steering rim, Byte0 is constant, all buttons state located in Byte1 and Byte2, the rest bytes are filled with ones – 11111111 11111111 …). Connects to Arduino Nano pin 12 (MISO). Default data (all buttons released) looks as:
11010001 11111111 11111111 11111111 11111111 11111111 11111111 11111111
4 – SS (orange) = Slave Select (also called CS = Chip Select or PL = Parallel Load). When Thrustmaster wheelbase wants to read the data, it sets SS line to LOW, then reads 8 bytes, then sets SS to HIGH (btw, Logitech uses inverted SS). We detect this 1->0 and 0->1 line change in our code. On some wheelbases buttons are read 1000 times per second, on other 500 times a seconds (500-1000Hz poll rate is standard for all gaming devices – mice, keyboards, …). Connects to Arduino Nano pin 10 (SS).
5 – SCK (red) = clock pulses. Every time SPI Slave device sees a pulse at SCK line, it must push another bit into MISO line. SCK pulse frequency determines how fast the data is transferred. Older devices (T500, T300, TXRW) used 32KHz-40KHz data rates. T150 uses ~1.5MHz data rate with almost no delay between bytes. Connects to Arduino Nano pin 13 (SCK).
6 – VCC (black/grey) – wheelbase provides +3.3 volts on the front socket. All logic levels are 0/+3.3V as well. Must be connected to Arduino Nano +5V pin. (never connect USB power or any other external power to Arduino when it’s connected to wheelbase!!!)
Arduino as ISP
As I mentioned, Arduino Nano comes pre-flashed with a bootloader (which allows us to re-flash the code via USB cable). Every time we power on Arduino, it sits about 2 seconds in bootloader, then gives control to our code (setup() + loop() functions). But, Thrustmaster T150 base wants data to be available immediately after power on – if data is not arrived, Windows driver detects whole device as “Thrustmaster FFB Wheel” instead of correct “Thrustmaster T150 force-feedback” and nothing works!
To fix this issue, our sketch code (t150_wheel_emu_15buttons.ino – download link is below) must be flashed into Arduino Nano via external programmer (AVRISP, USBTinyISP) or another Arduino board (preferably Arduino Uno – because it just works, doesn’t require capacitor mod). When we flash a sketch with external programmer, bootloader code is erased and our code boots immediately.
The process is well described in official docs – Arduino as ISP. There’s also a good post “Arduino Nano as an ISP Programmer” + YouTube video “Start your Arduino instantly – no boot time without bootloader”.
A little hint – if you use another Arduino Nano as ISP programmer, you must connect a capacitor to it – between GND and RST. Arduino Uno as ISP doesn’t require that mod.
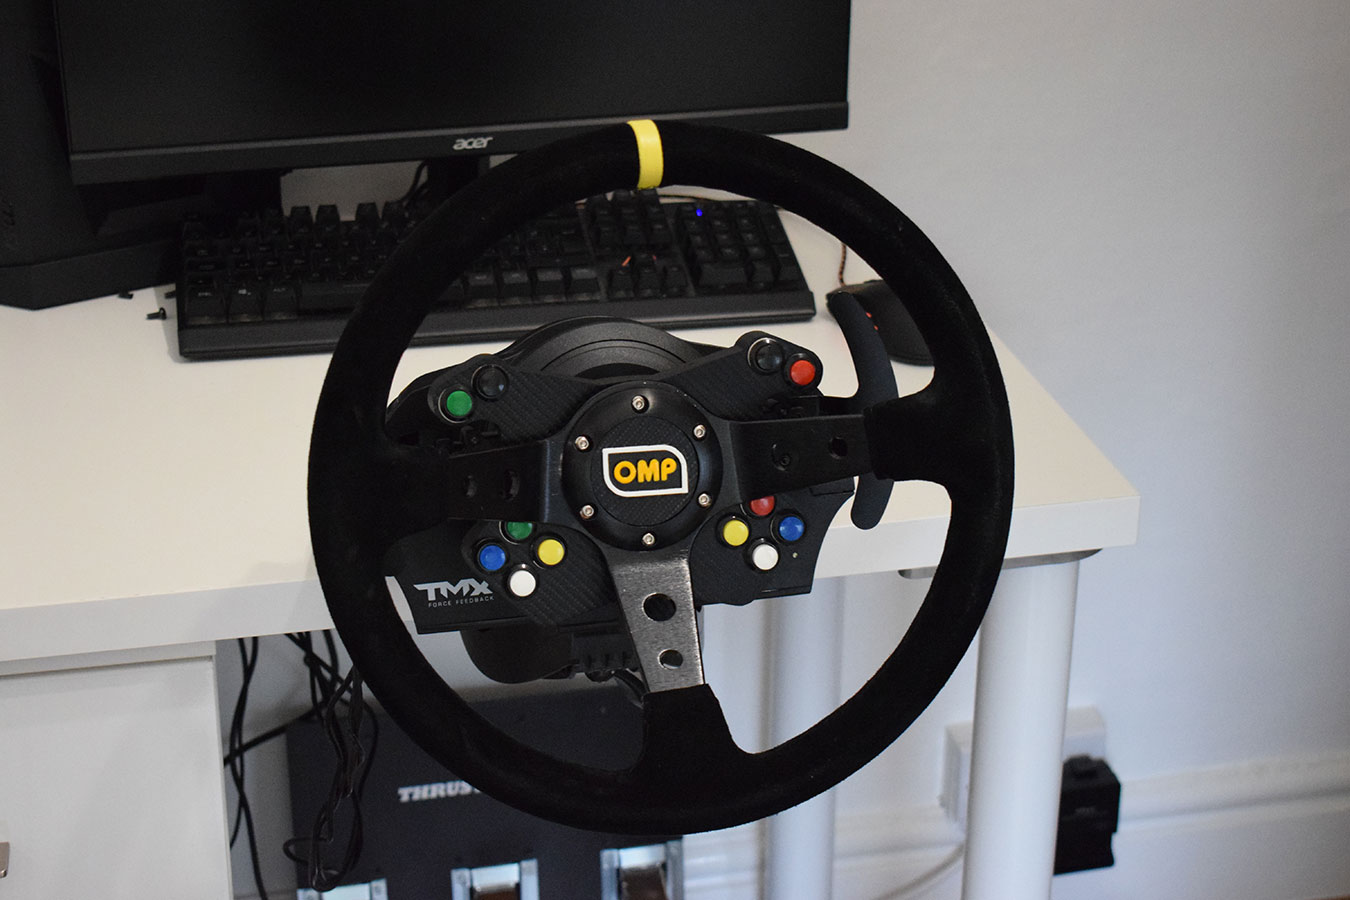
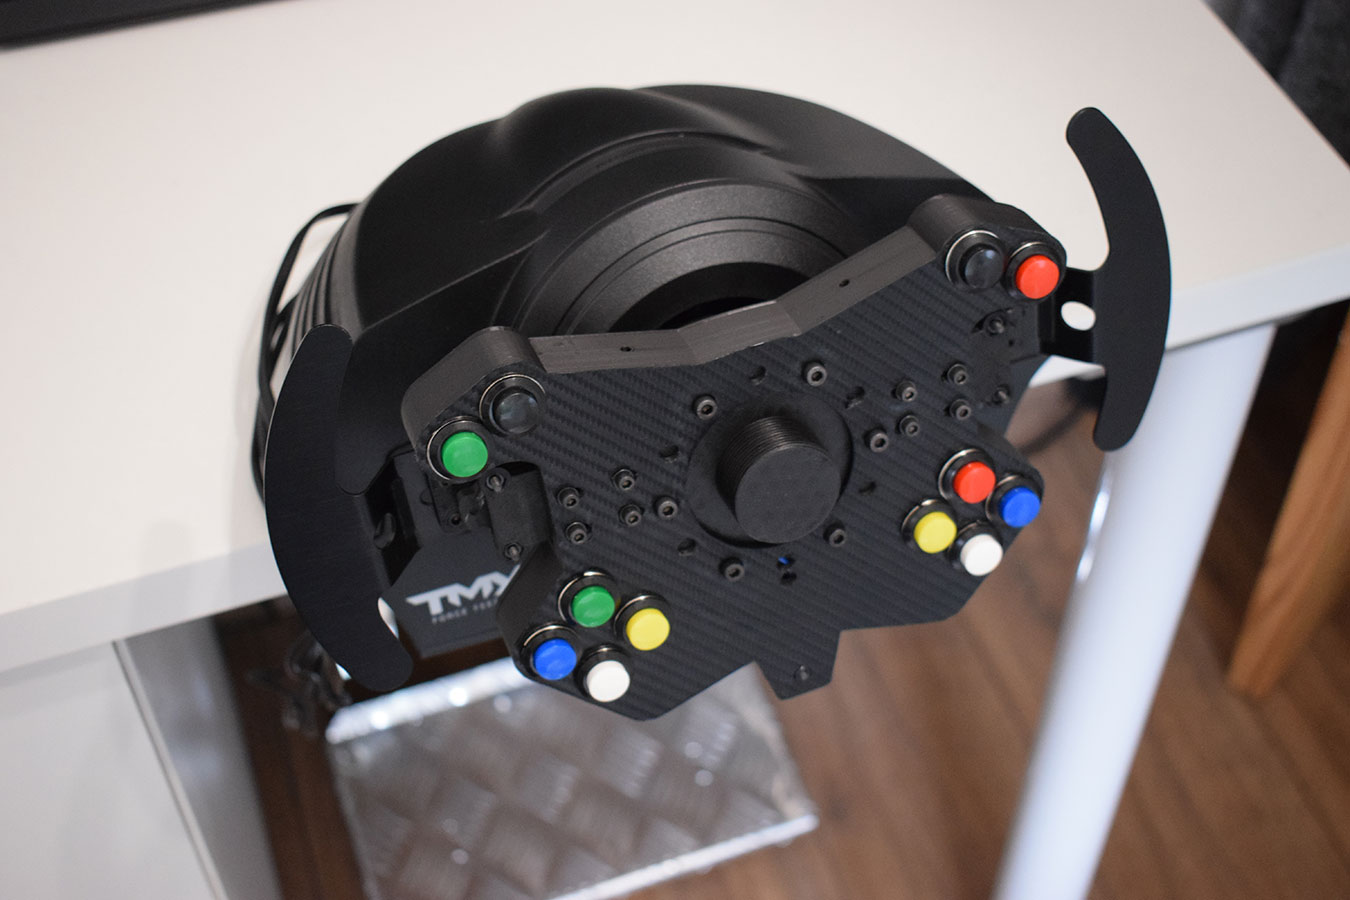
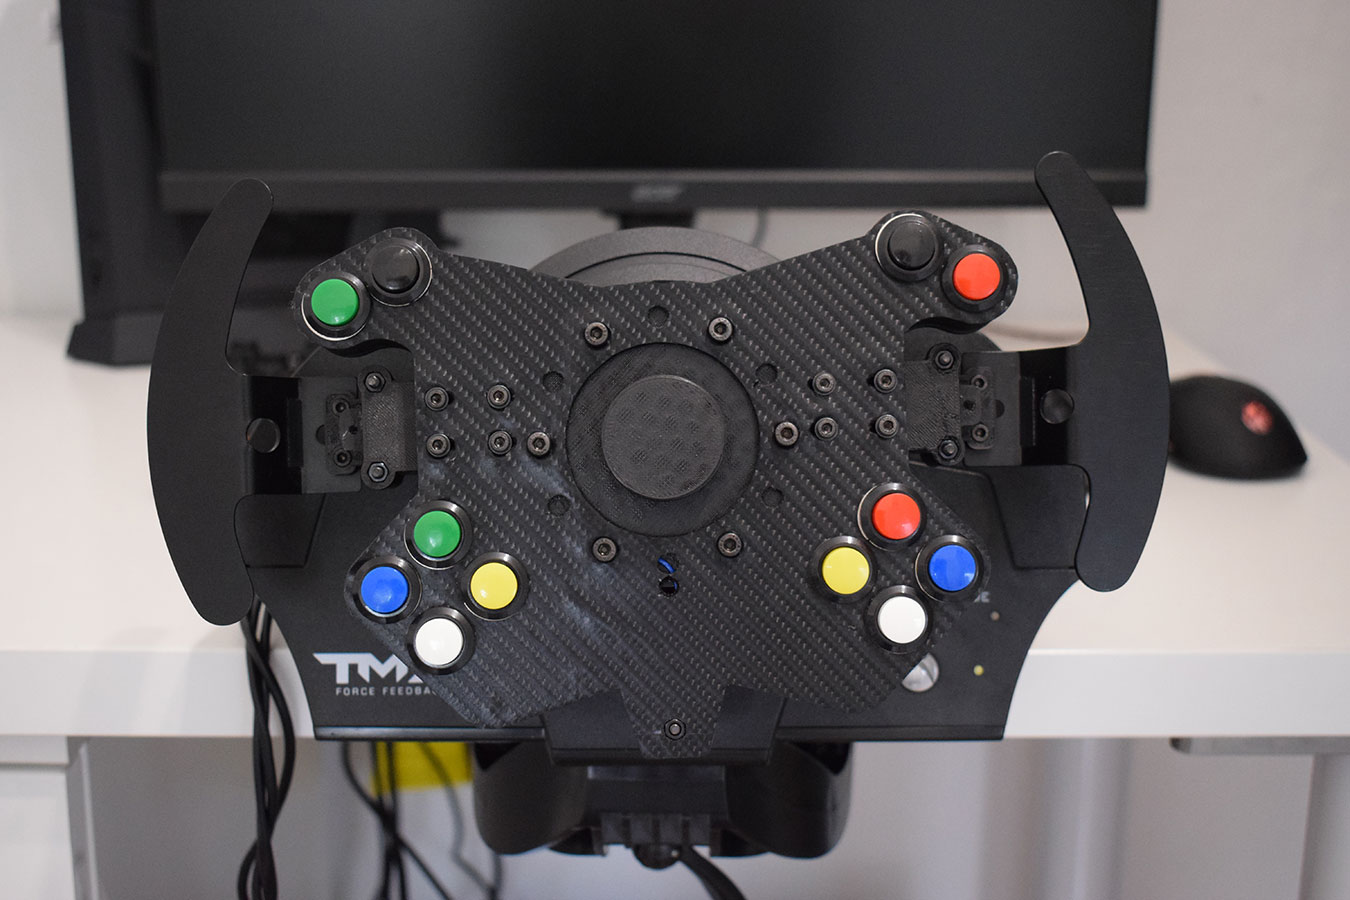
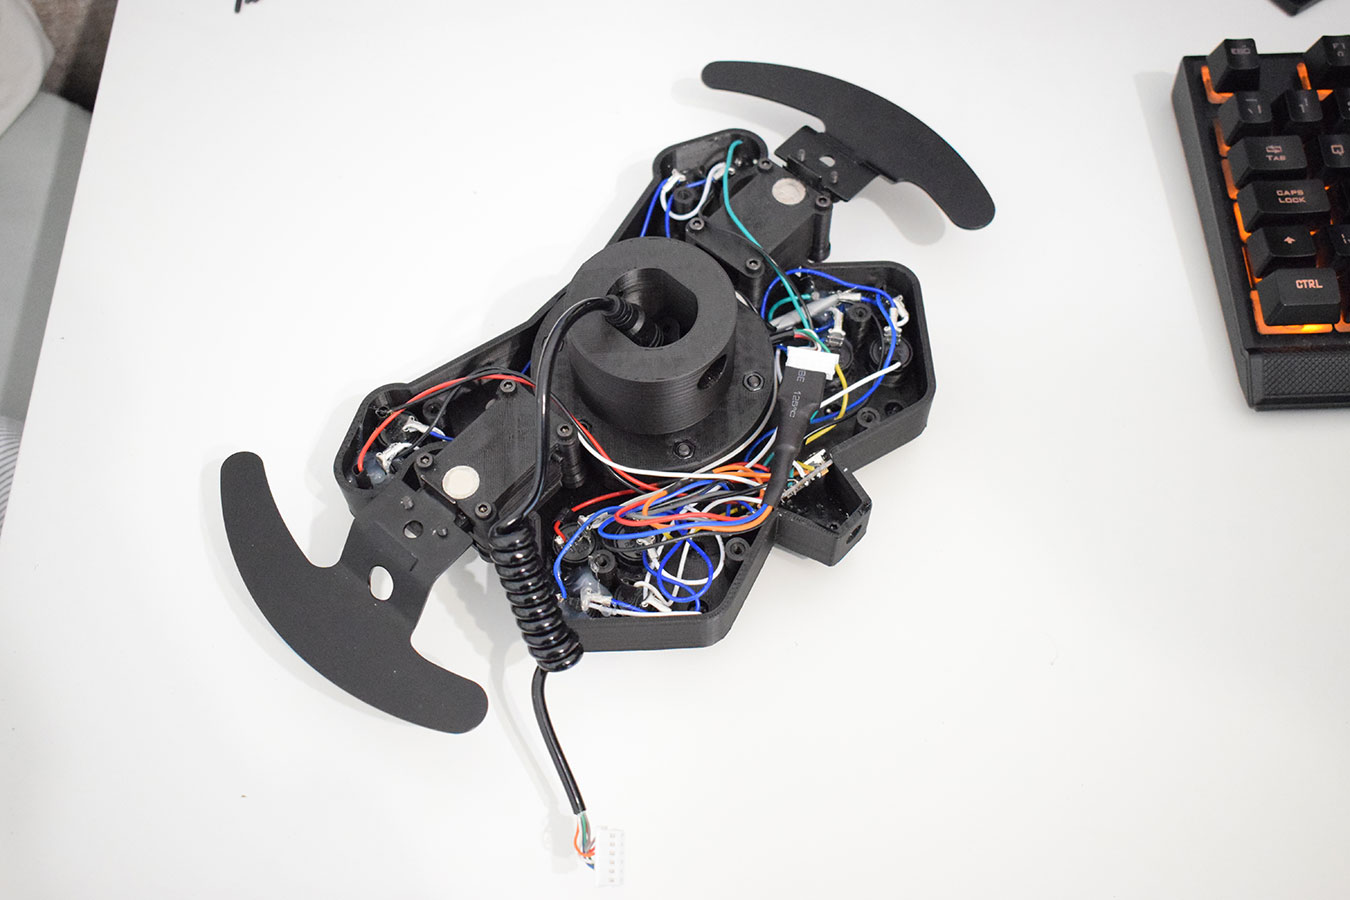
Custom wheel hub ideas
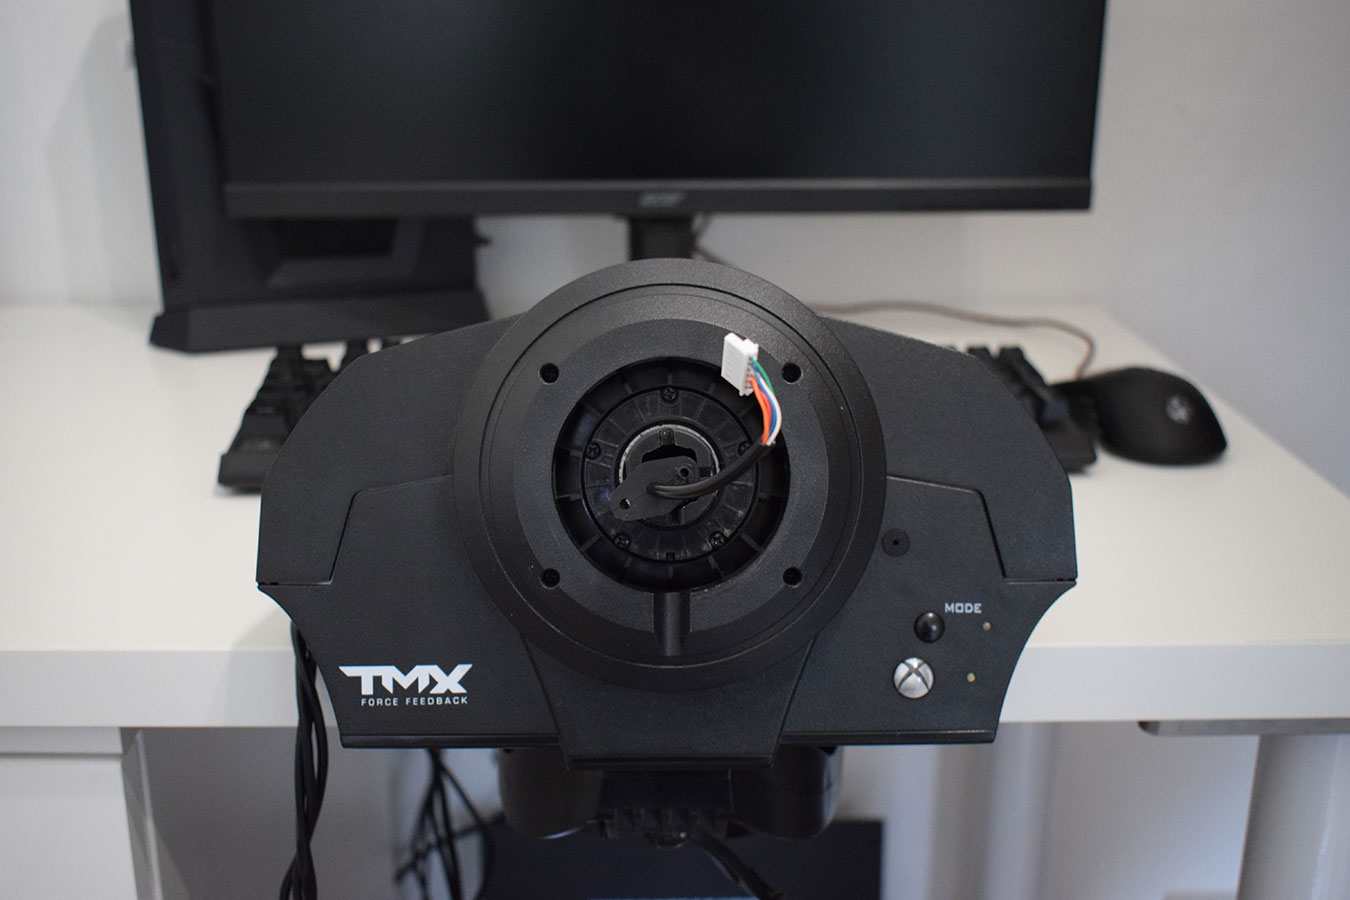
By design T150 is very similar to TMX. Here’s wheel hub idea from Jake, who 3D printed it for his TMX base:


T300 base support
I’ve noticed T150 and T300 stock steering wheels are both called “PS Wheel”, they both have 15 buttons onboard and absolutely identical data frames. So, t150_wheel_emu_15buttons.ino must be compatible with Thrustmaster T300 wheelbase (at the moment when I write this, it’s not tested yet). For T300 base you don’t need to use external programmer or Arduino as ISP. Sketch code can be flashed via USB cable as usual from Arduino IDE -> Upload.
Arduino firmware sketches
- 2020-03-28 - t150_wheel_emu_15buttons-1.03.zip (latest, tested, works)
- 2020-03-22 - t150_wheel_emu_15buttons-1.02.zip (tested, works)
Comments
There are comments on youtube or it’s always possible to email me directly.