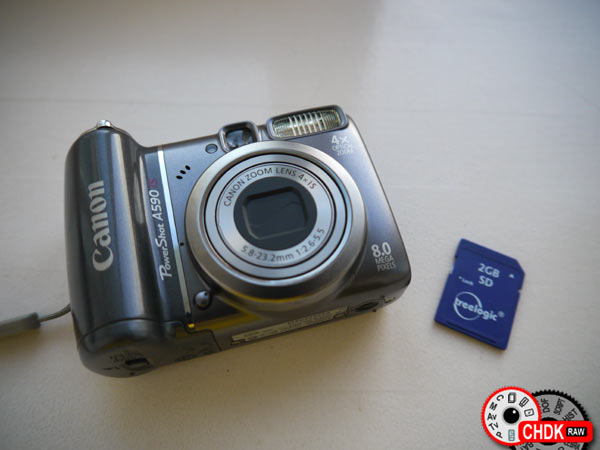
Input: Old Canon pocket camera + CHDK firmware add-on on SDCard
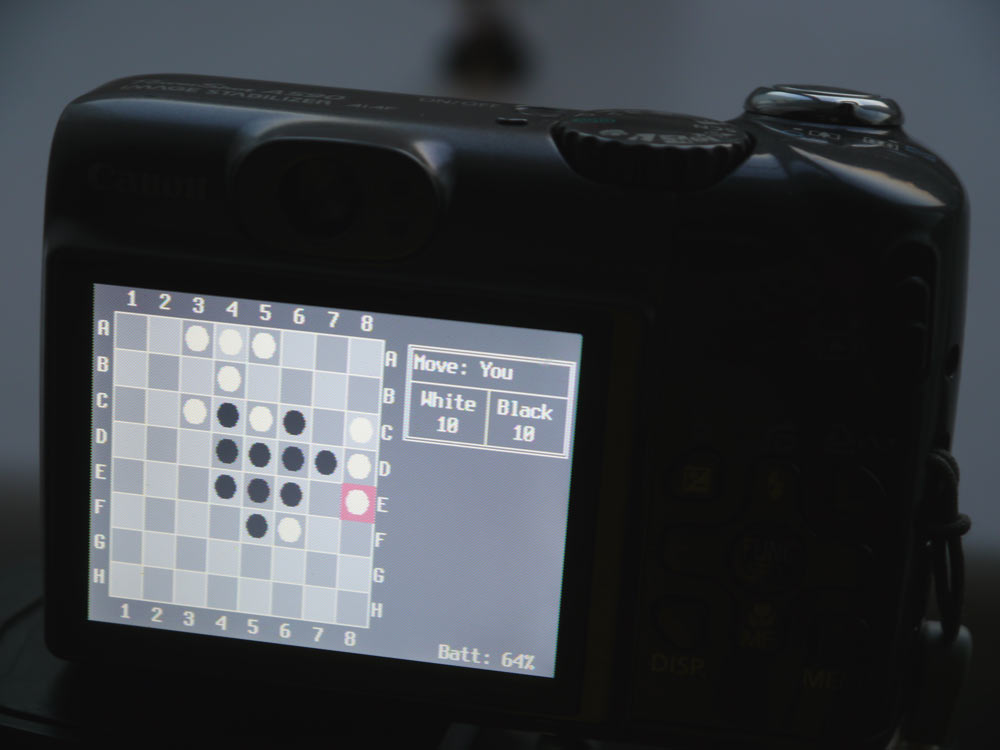
Output: Old Canon pocket camera with tons of new controls unlocked/added
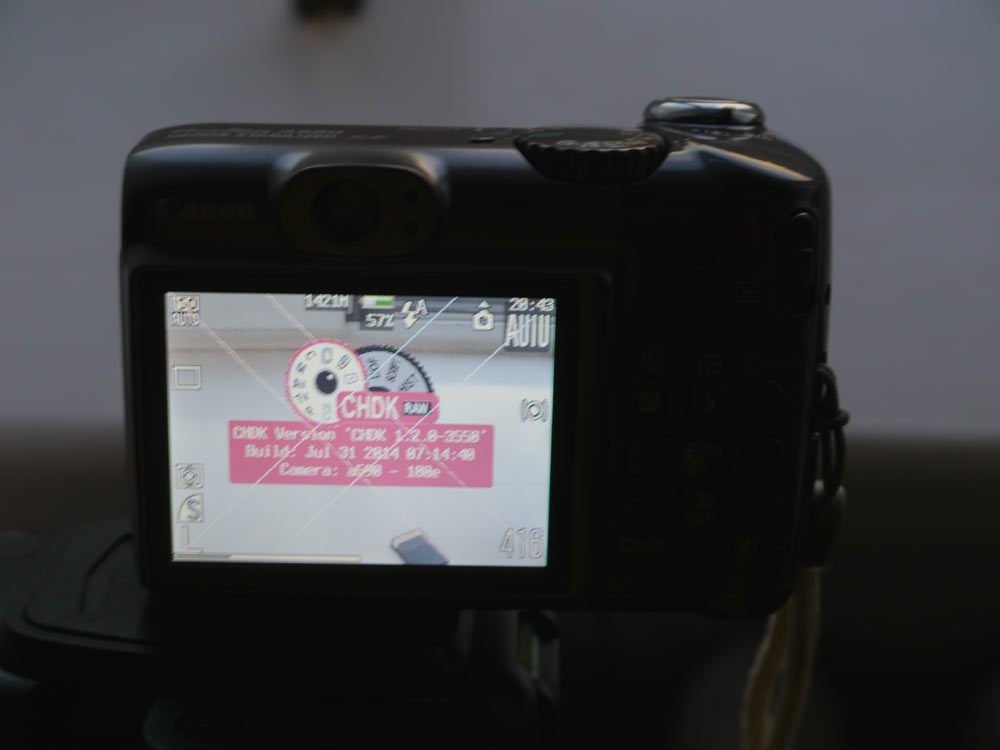
Some time ago I was looking my way into shooting RAW on cheap, having only the old PowerShot A590 point and shooter. But it’s a Canon! And many Canons can be hacked with the Canon Hack Development Kit (CHDK). CHDK is not a firmware, but a ‘residential program’, that can run on a camera’s tiny micro-controller, enabling RAW, auto-bracketing, live histograms, on-screen crop grids – and many more.
How to install CHDK
As far it’s not a firmware update, there are 2 options to run CHDK:
- load CHDK manually after each camera power-on
- or mark sdcard as bootable FAT16 and CHDK will auto-load
There’s a guide how to install it (Win, Linux and Mac users) – pick up what suits you best, please. Personally I installed it on a blank 2GB sdcard using a modified CHDK_prep.command script for Mac OS X (modified version), use it on your own risk, please – cause it will format a memory card to FAT16 and make it bootable (only for small, less than 4GB cards). With auto-load it’s easy to switch between original firmware and chdk. Lock sdcard with a slider, put it in camera –> CHDK loads. Unlock sdcard -> put it in camera and camera runs stock firmware again.
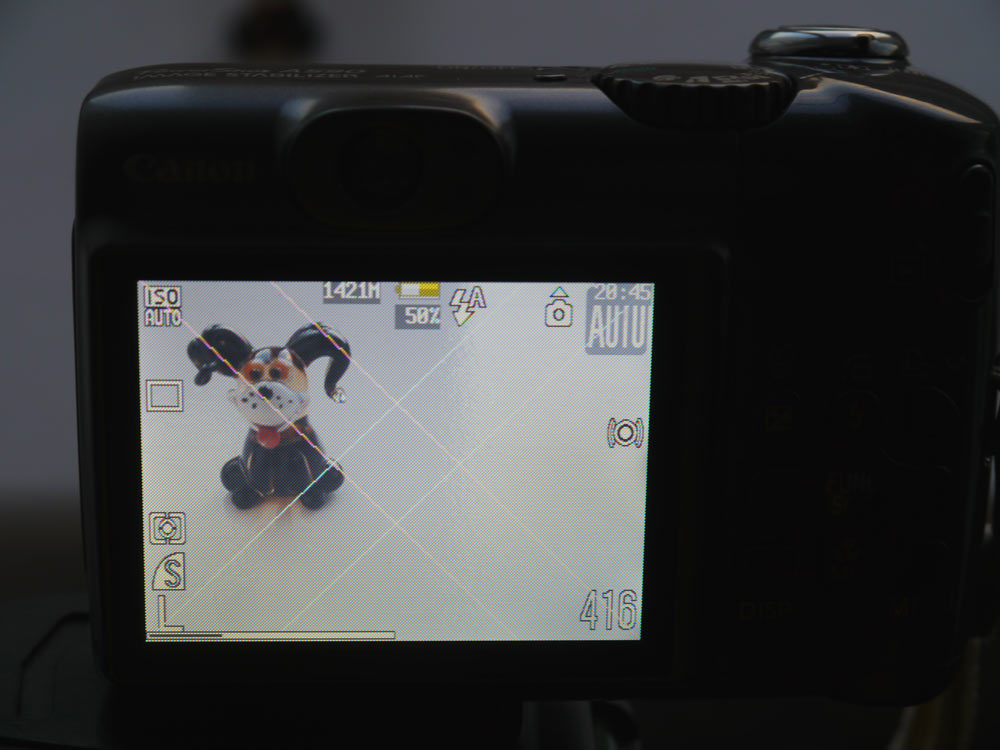
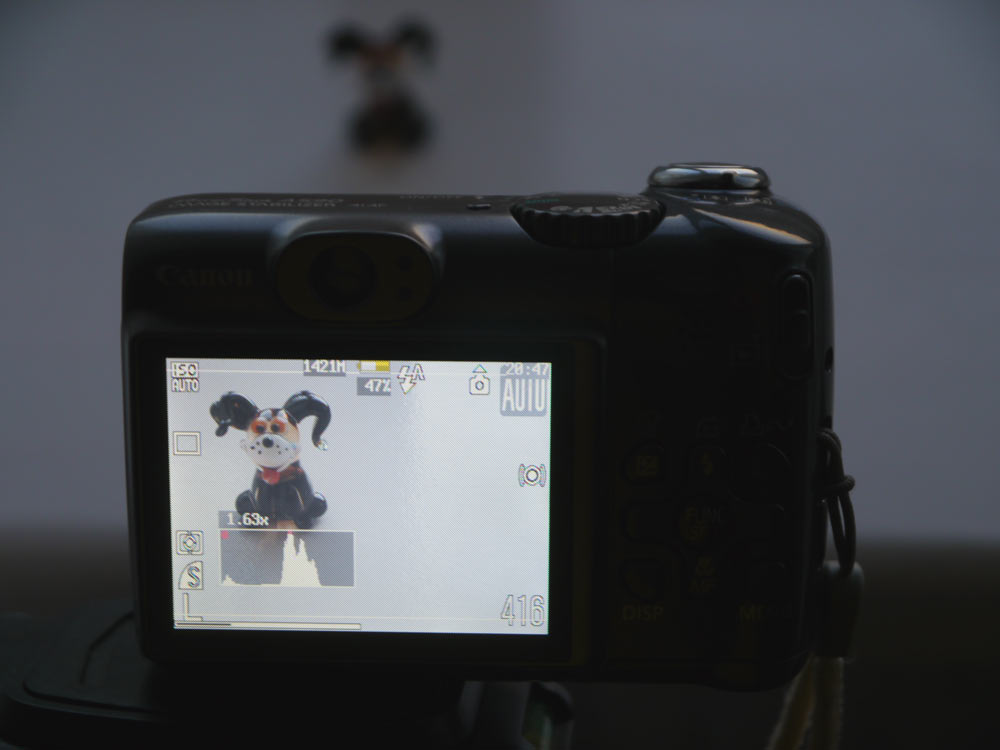
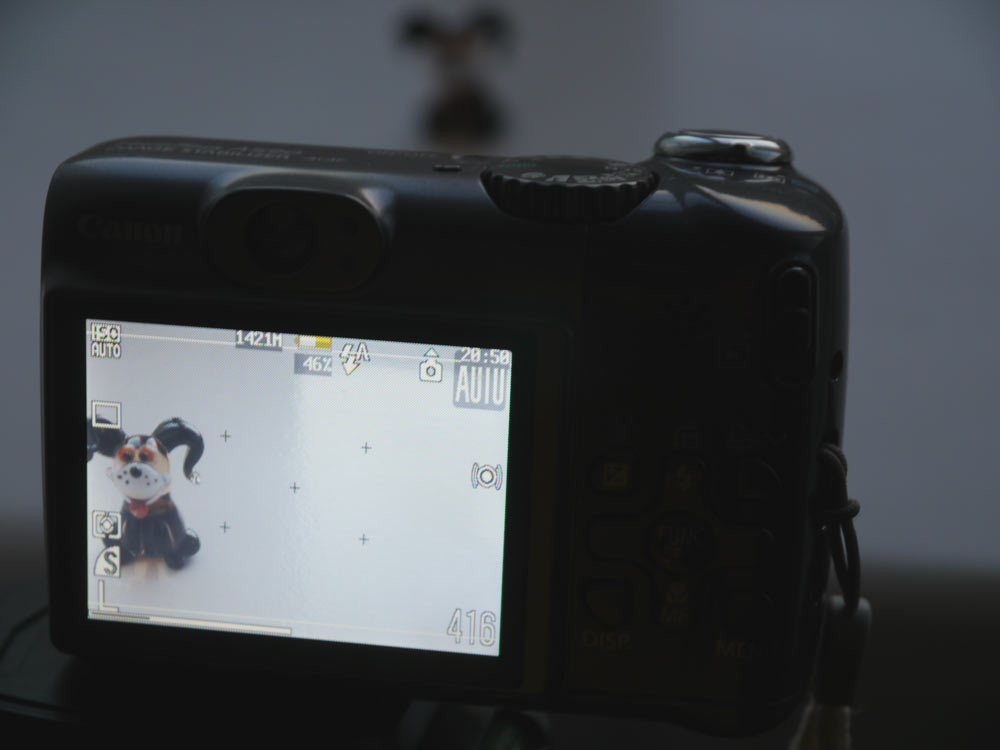
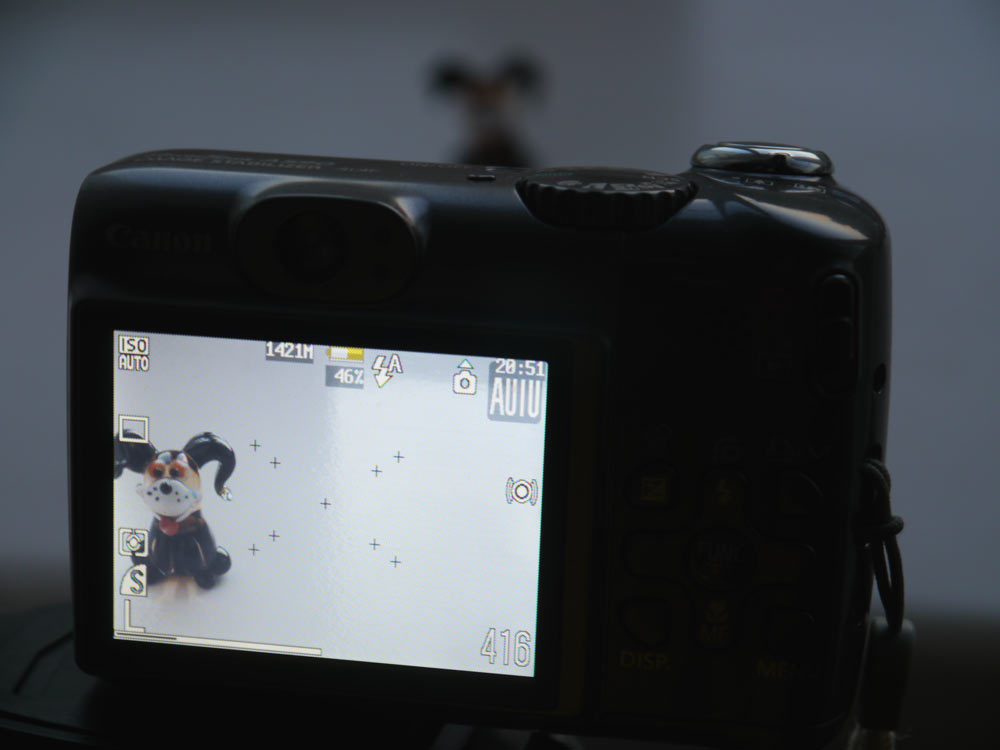
Live histograms and grids
On your sdcard there’s a CHDK folder, where different setting can be put (settings, books to read on camera screen, etc.). The most useful is CHDK/GRIDS. It allows to show custom on-screen grid-lines – like 3:2/16:9 crop format helpers, crosshair, rule-of-thirds lines, golden rule lines, diagonal method. Bah, better look yourself :)
Read more about Diagonal Method. Download 4:3 diagonal grid.
Download 3:2 crop + diagonal grid.

Download 3:2 crop + rule of thirds marks, 3:2 golden rule, 3:2 thirds + golden rule.
Download 4:3 rule of thirds + golden rule marks. There are more grids at chdk wiki, but not many 3:2 formats. Those you see above are custom made by myself. Just open .grd in any text editor if you want to draw more lines.
Ah, live histogram is self-explanatory – handy thing, enabled via CHDK menu anytime.
Shooting RAW
Yup, I was able to setup .DNG 1.3 recording (can be enabled in RAW Settings menu + you’ll need to take one shot for creating badpixel.bin). But importing raw .DNG files into CameraRaw was disappointing. Look what I saw (original JPG first, then related raw DNG saved to jpg without corrections):
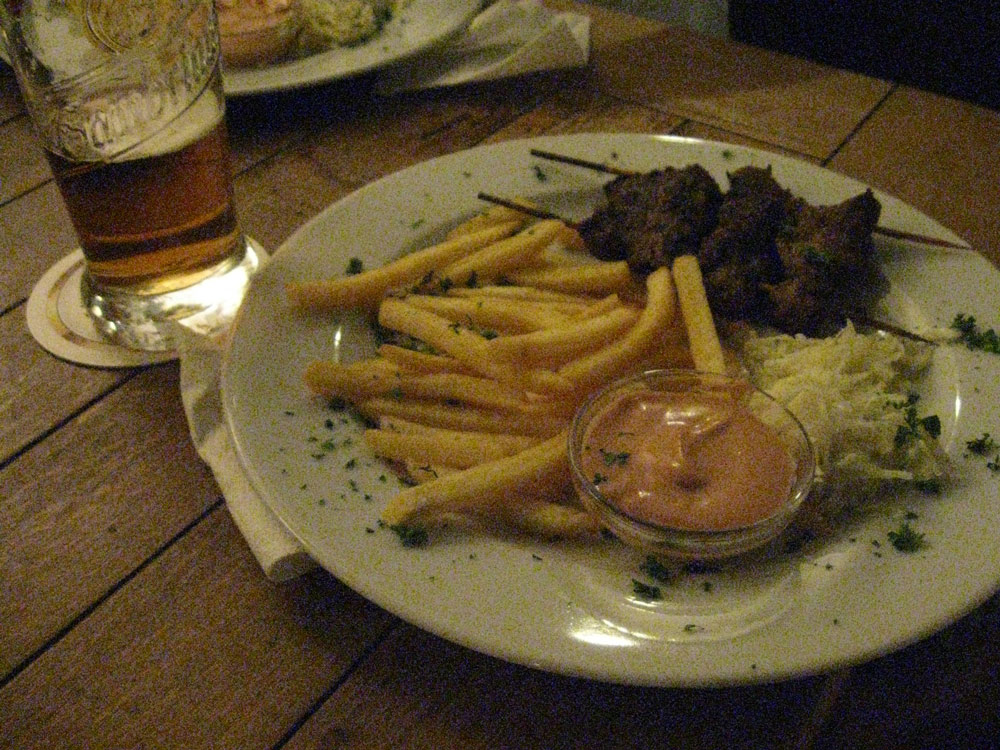
See, camera processor was able to make nice colors (poor light, high ISO – still jpg colors look real, wooden table is wooden brown). But when working with DNG – software doesn’t have a color profile for my camera – all colors are shifted! DNG looks blue-ish and there are tons of color noise.
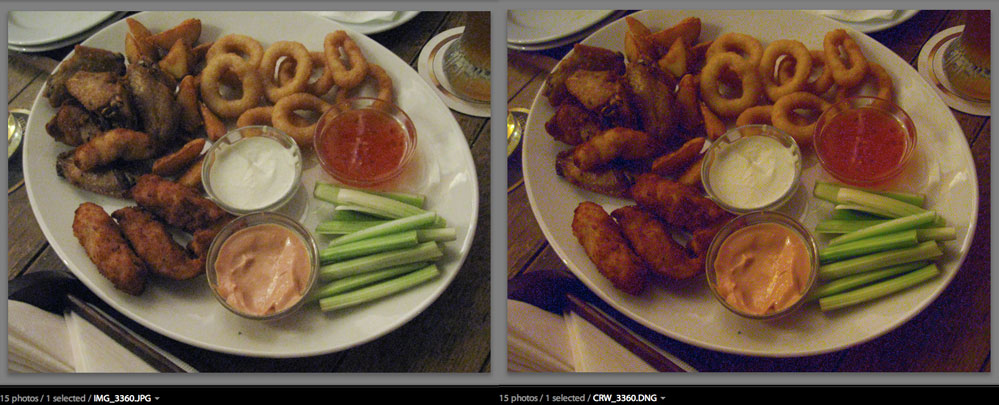
JPG is also noisy, but at least jpg noise is neutral. DNG is over-saturated, blue, full of color noise. Reason – Adobe doesn’t have a color profile for Canon A590 and cannot develop DNGs correctly. Dug the internet top to bottom – there are no color profiles for PowerShot A590IS! Found a link to handmade A470 (here) – but even it was broken :) Bad luck!
Conclusion
- Before shooting RAW, appropriate color profile for the camera must be created. That’s not difficult. I know, PRO-shooters make such profiles for every camera and for every lighting condition (studio, bright day, rainy day, etc) – but this requires a calibration chart (GreetagMacBeth/X-Rite Color Checker Passport/analogs – another $80-100). Hell, spent couple days trying to figure out WHY my raw files are so different from jpg. CHDK is cool but…
- What I’m trying to say – installing CHDK on any camera is not enough to work with RAW. Yea, camera records .DNGs, they can be opened, but when you try to develop them – you meet that color problem. Okay, probably I just was unlucky CameraRaw doesn’t have correct colors for me, I know it has standard profiles for Canon G/S/SX series – if you on a Mac, this can be found in /Library/Application Support/Adobe/CameraRaw/CameraProfiles/
- RAW didn’t helped with A590 noisy sensor on high ISO too. Yea, I’d better stick to JPG. And to ISO200 max – little pocket camera, it has it’s limits.
- CHDK on-screen grids and live histograms are brilliant, as well as many other features – it worth giving it a try anyways.
- But this is just my opinion :)
Video I’ve found regarding making custom camera color profiles from scratch, I don’t yet have a color chart. Need to borrow one.
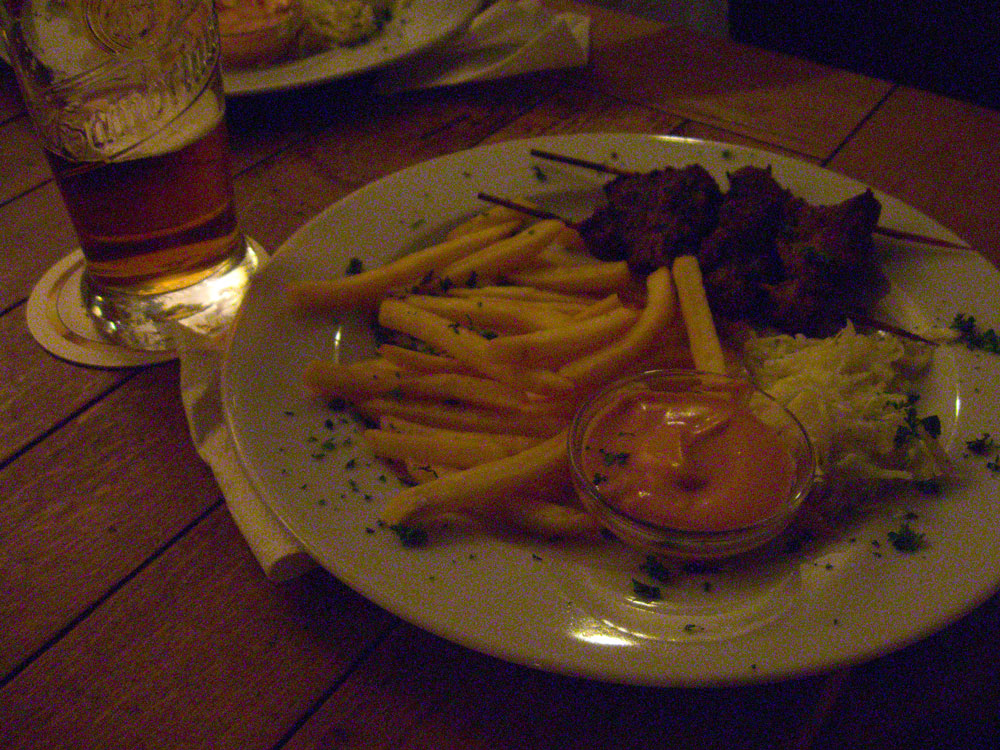
Ah, bonus :)